How to Teach Kids Piano

Contents
How-to Teach your Child the Piano
Parents are excited for their kids to enhance their musical ability and one of them is learning how to play the piano. Children who master the keyboard instructions and can play musical pieces as early as 6 years old have finer motor skills and more brain growth compared to their peers who cannot. Studying music, in general, develops hand-eye coordination, discipline, and intelligence. Moreover, musical skill brings a sense of fulfillment, satisfaction, and happiness to the child as well as the people who are listening. So, how to teach kids piano? Read on.
Related: Learn how to encourage kids to practice piano.
Is the child ready for the learnings?
While the best age for children to start piano is 6 to 7 years old, there is really no strict rule about the age. Some kids start their piano lessons at 3 years old while others when they are 10 or 11 years old. If the child is showing a great deal of interest in the piano, allow him/her to explore the possibilities.
It is important to know if your kid is ready by considering this checklist:
-
Interest and desire to learn
The motivation to learn should come from the child. It makes a big difference because it will eliminate the power struggle and other challenges that may come up during the lessons. Take note that young children typically have a shorter attention span.
-
Hand size
The size of the hands of the child should be big enough to comfortably place five fingers on five adjacent white keys.
-
Finger independence
Finger independence refers to the ability of the child to move the individual fingers. Let him wiggle one finger at a time. It’s a fun finger exercise to improve the coordination and strength that are crucial for beginners.
Are you ready to teach your kid the first lesson?

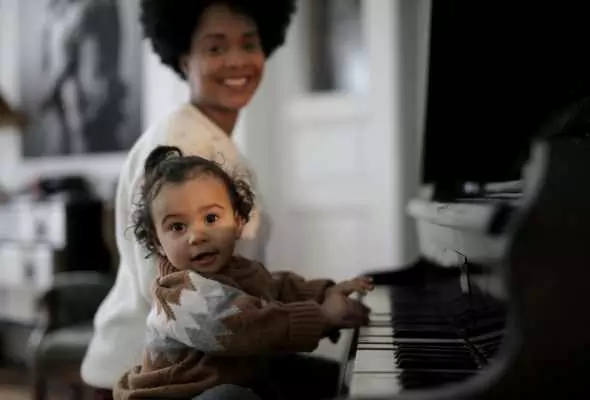
Photo by Andrea Piacquadio
If you play the piano yourself, you can mentor your kid during the early stage of his journey to the musical world. The basic steps:
-
Teach the finger numbers
Get a piece of paper and trace the fingers of each hand. Label each finger with 1 to 5.
- thumb (number 1)
- index finger (number 2)
- middle finger (number 3)
- ring finger (number 4)
- pinky finger (number 5)
Let the kid color each one with a coloring legend like yellow for number 1, green for number 2, and so on. Finally, let the kid identify the opposite positions of each finger.
-
Practice key groupings
Start with the black keys first. The piano has groups of 2 and 3 black notes. Let them play each one of the groups of 2 black notes. After that, instruct him to play the group of 3 black notes.
Once done, it’s time for a simple playing exercise to train his ears to identify the high and low registers as well as build rhythm.- From the center of the piano, let the child use his finger 2 (index finger) of the left hand to play all the 3 black keys while counting “one, two, one, two.”
- Then, let him do the same using finger 2 of the right hand.
- Follow the same steps to the group of 2 black notes.
-
Introduce to the child the musical alphabet
Beginners should learn the note name of every key to help her read notes on the musical sheets. The musical alphabet has seven letters (A, B, C, D, E, F, G) that correspond to the notes. Make it an engaging activity by using a flashcard with the letters.
Why is mastering the musical alphabet important? This is because it will help the child count the spacing and intervals between notes when he begins playing with musical sheets. It will also be handy as he begins formal piano lessons with a professional teacher. -
Teaching the patterns of piano notes
At this juncture, the child is more familiar with the black and white key groupings along with the musical alphabet. It’s time to teach the piano notes.
- Begin with C. Let him find all the middle C (the white key before the 2 black keys).
- Teach the B. It is the note before C and the 3 black keys.
- Proceed with the D and so on.
-
Practice
With the right hand, let your child play the C note using the thumb. It is important to make sure that he is not balling her other fingers in a fist. Have the child play C note with the thumb, D with his pointer, and E note with his middle finger.
With his left hand, have the child use the thumb to play C note, D with his pointer, and A with the middle finger. Let the child play these notes in a row and see if he is doing it right. -
Teach the white notes
White keys are more difficult to play so teach them when the child is already familiar with the black keys.
-
Teach the child how to play basic songs
A warm-up song is the “Spider Song”, where he can use both hands like both 1’s, both 2’s, both 3’s, and so on. Another good piece is Twinkle, Twinkle because it has the same notation system.
- Right hand – 22332 Left hand – 4.4 1122334
- Right hand – 2211 2211 Left hand – 223 223
- Right hand – 22332 Left hand – 4.4 1122334
Takeaway
Teaching your child basic things about piano playing is fun. It feels good seeing your little boy or girl enjoying the lessons and getting ready for the next step of the musical journey. Finding a good private piano teacher or enrolling the child in a piano school will further enhance his skills and talent. As always, practice is the key to perfection.
Parents, Teachers & Sheet Music Seekers:
If I offered to provide you hundreds of legit sheet music PDFs for your kids:
- Brand-New & Exclusive Compositions
- Age & Level Appropriate
- With INSTANT Online Access
- Worry-FREE Licensing & Copyright
...would you take me up on that offer?
ABOUT
I started Music4Kids with a simple goal in mind: To provide valuable information to guiding parents who want to raise musically inclined kids.
Click to read on