Playing Recorder For Beginners
Contents
- 1 German Or Baroque Fingering?
- 2 Choose The Model To Start Playing The Recorder
- 3 Accessories
- 4 Correct Postures To Start Playing The Recorder
- 5 Methodology – Know Your Instrument
- 6 Discipline And Patience When Starting To Play The Recorder
- 7 Consider The Position Of The Body
- 8 How To Hold The Recorder
- 9 Pay Attention To The Finger Placement
- 10 First Practice With The Fingers Of The Left Hand
- 11 Learn To Control Your Breathing
The recorder is one of the instruments chosen to teach music by most music teachers, it is very simple when it comes to knowing the musical notes and learning new melodies. In this article, I’ll dive into some practical tips to start playing recorder for beginners.
-
-
German Or Baroque Fingering?
Playing the recorder puts us directly before the first decision. We refer to choosing a flute with German fingering, or baroque fingering.
To explain the difference in a simple way, German fingering is easier to get started with but some semitones cannot be reached, making it almost impossible to play more complex works. However, with the baroque fingering we can cover any work, although the beginning of learning will not be so intuitive.
The original fingering is baroque. It is the one that will allow you to play any type of work, even classical. German fingering, however, is an invention oriented purely for schools and probably a temporary contact with the instrument. If you haven’t had any contact with the recorder yet, start with the baroque fingering from the beginning, and then you won’t have any problems in the future. -
Choose The Model To Start Playing The Recorder
Once you’ve decided which fingering you want to practice first, it’s time to choose your instrument.
The recorder, in addition to fingering, also has different types of sound register. This refers to the tonal height of the musical notes of the instrument.
The soprano recorder is the highest and is the one we see the little ones use at school. Then we have the alto recorder, whose tonal register is lower than the soprano. Lower still is the tenor recorder, and even lower is the bass recorder. These last two also include keys on their holes, like those of a transverse flute. We will focus on soprano and alto types.
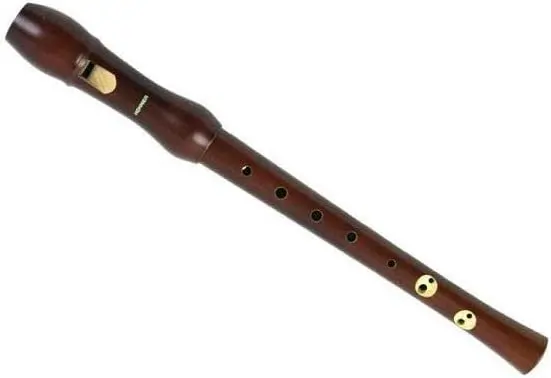
Apart from the type of tonal register, we will find recorders made of plastic, and others made of wood.
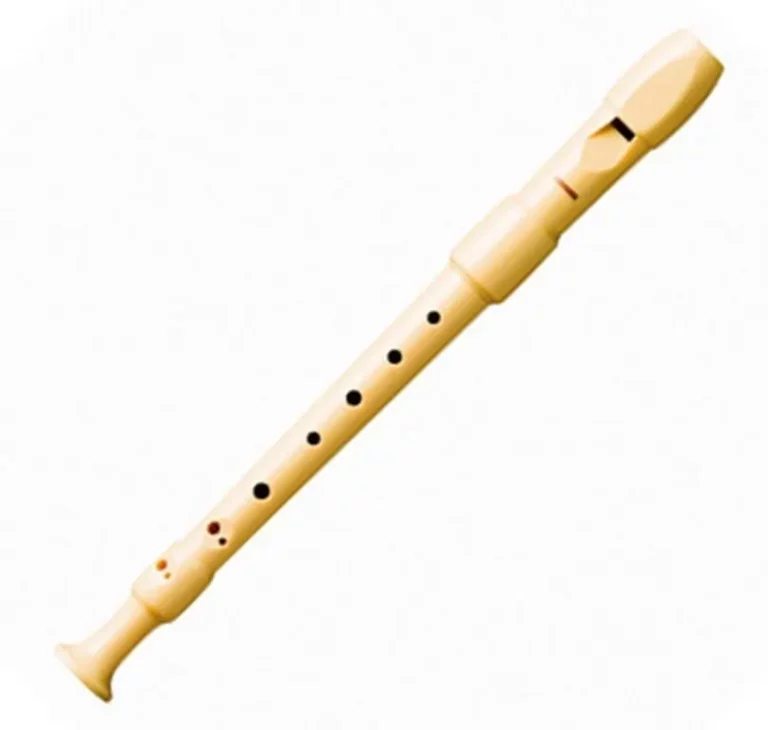
And in addition to the material, we will find models of one, two and even three pieces (the professional ones), depending on how we can disassemble the head, the body and/or the foot of the recorder. And all this will influence the final price of our instrument. The typical inexpensive school recorder is this-
One Piece Of Plastic Models
-
Two Pieces Of Plastic Models
-
Two Pieces Of Wood Models
-
Three Pieces Of Plastic Model
If we want to play the recorder with a warmer sound, we should choose an alto recorder such as the one to the left.
-
-
-
Accessories
When playing the recorder it is normal for traces of saliva to remain inside, so it is essential to keep our recorder clean inside after playing. For this we will use a plastic recorder brush, or a wooden recorder brush. If our recorder is made up of several pieces, we will have it much easier to reach all the internal parts of it.
We must not forget the external part, on the mouthpiece, where we rest our lips. It would also be convenient to give it a pass to disinfect and clean. We must be careful if we use any product, since it can damage the wood, or even the plastic, if the product is very aggressive.
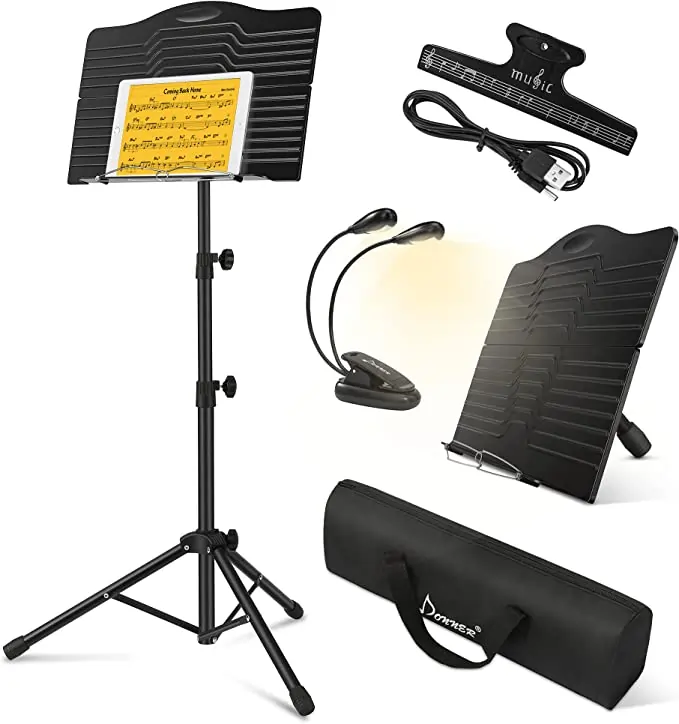
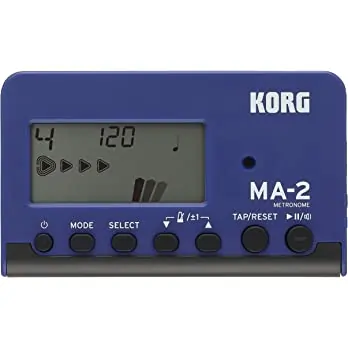
Apart from the maintenance of our instrument, the minimum we will need to play the recorder, will be a music stand to put the scores, and a metronome to help us mark the tempo. Depending on whether we normally play sitting down or standing up:
-
Correct Postures To Start Playing The Recorder
Left hand on top. There are no lefties here. You should exercise the agility of your fingers equally regardless of whether you are left-handed or right-handed.
Do not bite the mouthpiece or touch it with your teeth. Only the lips should come into contact with the embouchure. Your tongue should rest on the back of the upper teeth, as when you say you, to separate it from them when playing the note. Unless we want to link them together. It is also very important to learn to control your breathing. Keeping our backs straight helps us to have more lung capacity. -
Methodology – Know Your Instrument
The recorder is divided into the head (where we blow), the body (where we rest our fingers) and the base or foot (where the air comes out). Hole numbering and fingering. To facilitate the study of each instrument, both the fingers and the part of the instrument to play are usually numbered. In this case, when playing the recorder we will find 8 holes numbered from 0 to 7, with 0 being the hole that remains behind, and 7 the one that remains at the end, at the foot of the recorder.
In the case of the hands, the left uses 4 fingers, numbered from 1 to 3 counting from the index, plus the thumb (P or zero). In the case of the right, they are numbered from 4 to 7 from the index, plus the thumb (P). -
Discipline And Patience When Starting To Play The Recorder
You must be constant. You will need to practice every day at least 1 hour. And as you increase the level, more daily hours of practice will be necessary. At first it will be difficult to advance because it is something new. We can feel clumsy when it seems so easy to move our fingers, but as we acquire skills we will be able to interpret the pieces we want and that is what will lead us to personal satisfaction. The more time we spend studying, the more control we will have over the instrument.
The beginnings are not very fun, but you must not let the frustration get the better of you. You have to keep it away, and with practice and patience you will achieve it. -
Consider The Position Of The Body
It is recommended to hold the instrument with your arms raised high to facilitate deep breathing. Head high, trunk and neck straight. Thus the air flows unhindered. If you’re sitting on a chair, make sure it has a straight back so your back can rest comfortably and relaxed.
-
How To Hold The Recorder
The left hand presses the top holes and the right hand the bottom holes. Try not to touch the mouthpiece with your teeth.
-
Pay Attention To The Finger Placement
The hands and fingers have to be relaxed, it is not necessary to apply a lot of pressure to make it sound good, but it is important that you make sure that the fingertips cover the holes well so that the notes sound. Above all, the thumb of the left hand must be positioned correctly, otherwise the other notes will not sound.
-
First Practice With The Fingers Of The Left Hand
You can start playing simple melodies, with few notes and as you improve the sound you add the other fingers.
-
Learn To Control Your Breathing
This is key, because through good air management you can achieve different nuances and articulations of the sound that will improve the interpretive quality of the melodies. So we will gently support the recorder on our lips and as the sounds of the recorder are more serious we have to emit the air more smoothly, because if we emit too much air the sound would be excessively distorted.
The hands and fingers have to be relaxed, it is not necessary to apply a lot of pressure to make it sound good, but it is important that you make sure that the fingertips cover the holes well so that the notes sound. Above all, the thumb of the left hand must be positioned correctly, otherwise the other notes will not sound.
Parents, Teachers & Sheet Music Seekers:
If I offered to provide you hundreds of legit sheet music PDFs for your kids:
- Brand-New & Exclusive Compositions
- Age & Level Appropriate
- With INSTANT Online Access
- Worry-FREE Licensing & Copyright
...would you take me up on that offer?
ABOUT
I started Music4Kids with a simple goal in mind: To provide valuable information to guiding parents who want to raise musically inclined kids.
Click to read on


